
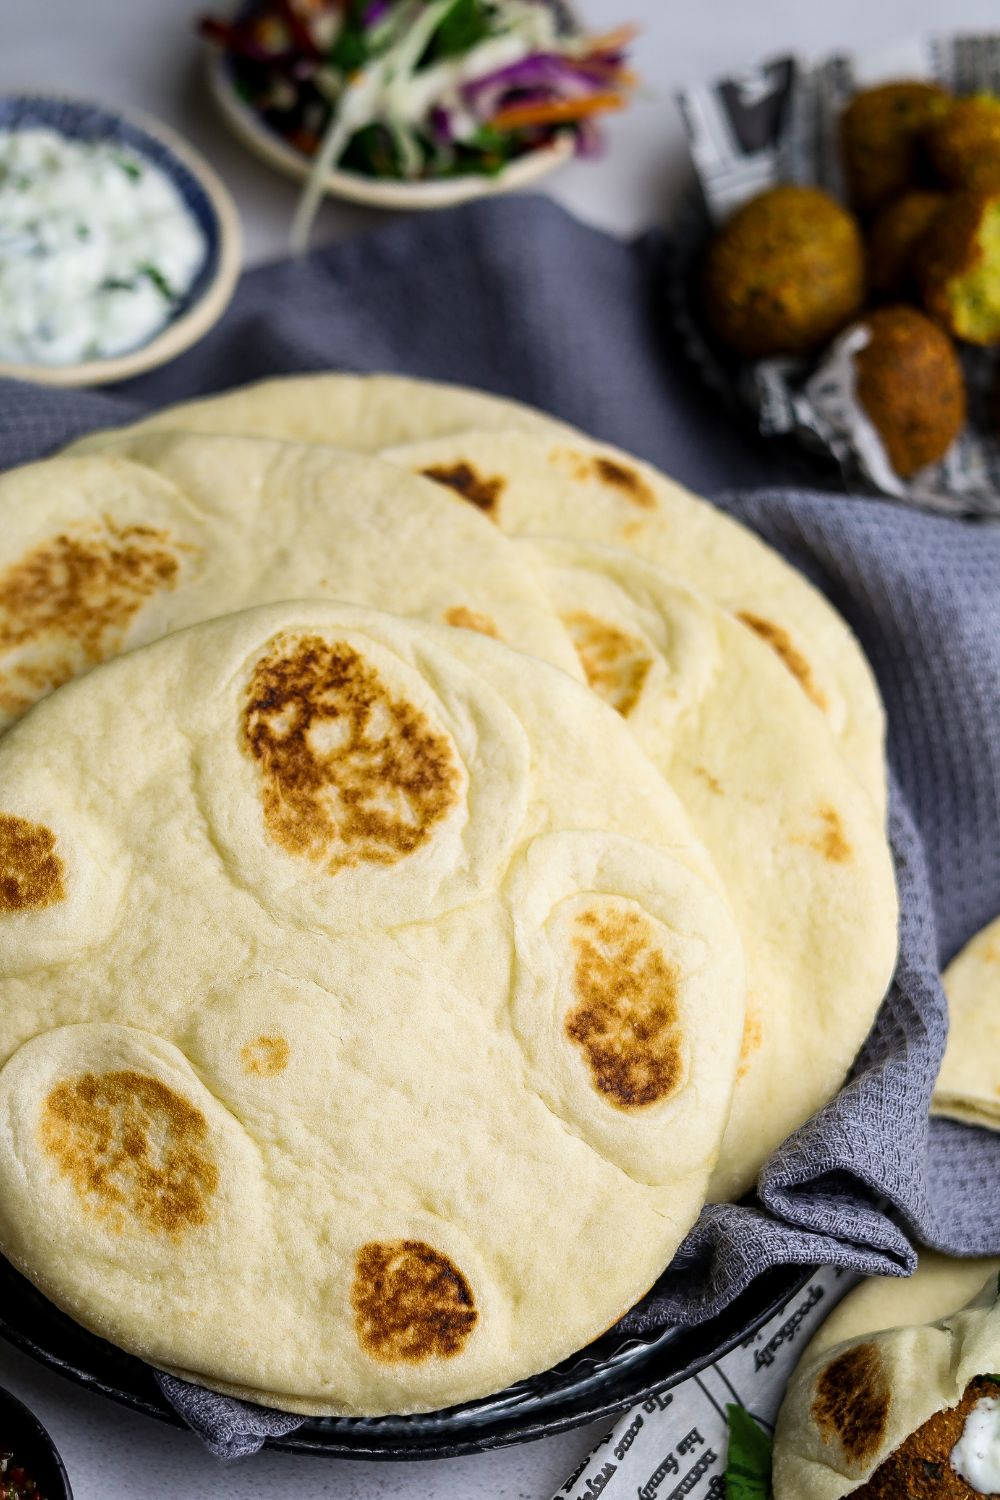
Pita Bread

I’ve tried making Pita Bread a couple of times before but I wasn’t completely happy with the results. Finally, I decided to try again and I am so thrilled with the results.
Pita Bread
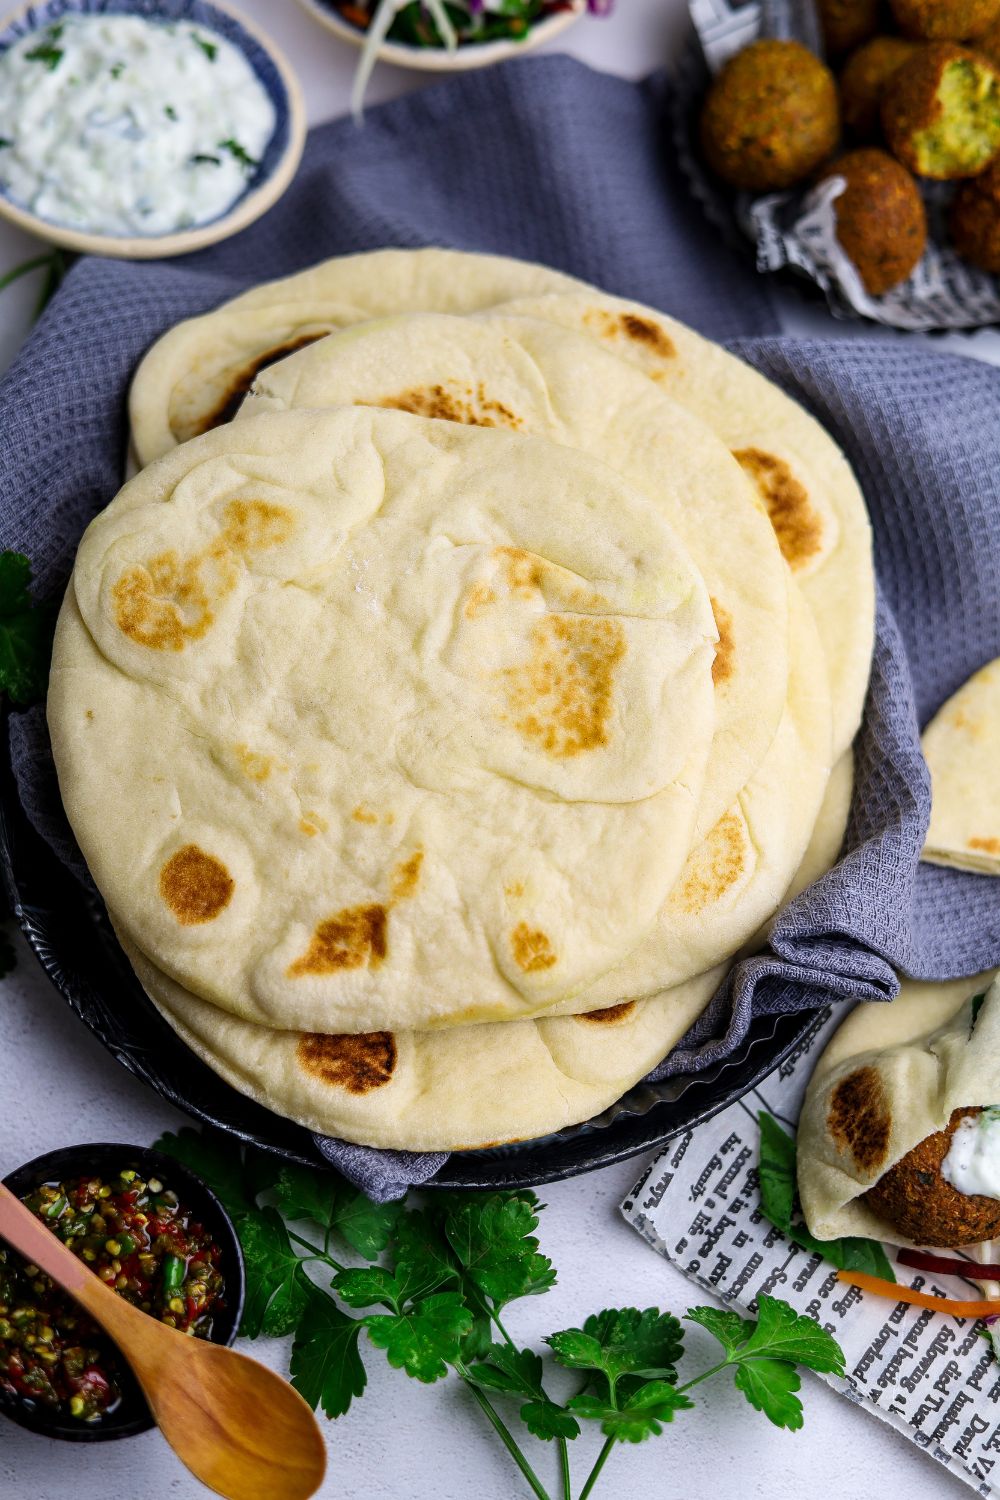
The heat in Johannesburg is already feeling a little unbearable so I had an early start to the day. I was in the mood to really cook today so I made a few different elements to go with this Pita Bread.
My hubby absolutely loved it. That made me so happy and I can say it was worth the effort.
Ingredients Required
What I love about any bread making is that we often have all of the ingredients in our pantry.
This Pita Bread is no different to other breads. In fact it is an easy recipe to make.
All you need is cake wheat flour or all purpose flour, yeast, salt, sugar, olive oil and water.
No fancy ingredients required at all. Some recipes call for whole wheat flour but I didn’t use that.
For me it’s all about keeping things as simple as possible. Everyone must be able to try my recipes.
How to make the Pita Bread
For this recipe you can use a stand mixer or your hands. I made it entirely by hand.
Yes, I know I still love cooking and baking the old-fashioned way. That’s therapy for me.
Besides I hate gadgets so the less I use them the better. Having to master technology at my age is enough.
I don’t need more gadgets to complicate my life…haha! However, I do have some that I can’t live without.
I added all my ingredients to a bowl. Mixed it together and then kneaded the dough for 5 minutes.
You then rest the dough for an hour or longer until it rises. Divide into 8 pieces, roll into balls.
The dough is then rolled out, rest for a few more minutes and toast. You can use the oven if you prefer but I made mine entirely on the stove top.
As I said before and I am saying it again. Yes, there is science behind some recipes but I also feel that some people over complicate things.
I am not sure whether they want to sound like complete experts but some things can be a little exaggerated.
Every recipe that I have read says you have to use the oven or a cast iron skillet. I am sure one person reads a recipe and then they all just follow the same method.
I promise I made these on the stove top in a normal pancake pan. It puffed up beautifully and it is super soft and fluffy.
To be honest I came from a very humble background. Although I do have everything I want today I still believe that things can be done in the simplest way and still look and taste amazing.
Our mums didn’t have fancy gadgets but still made the best food. We can find joy in simplicity. Trust me on this.
Some Tips
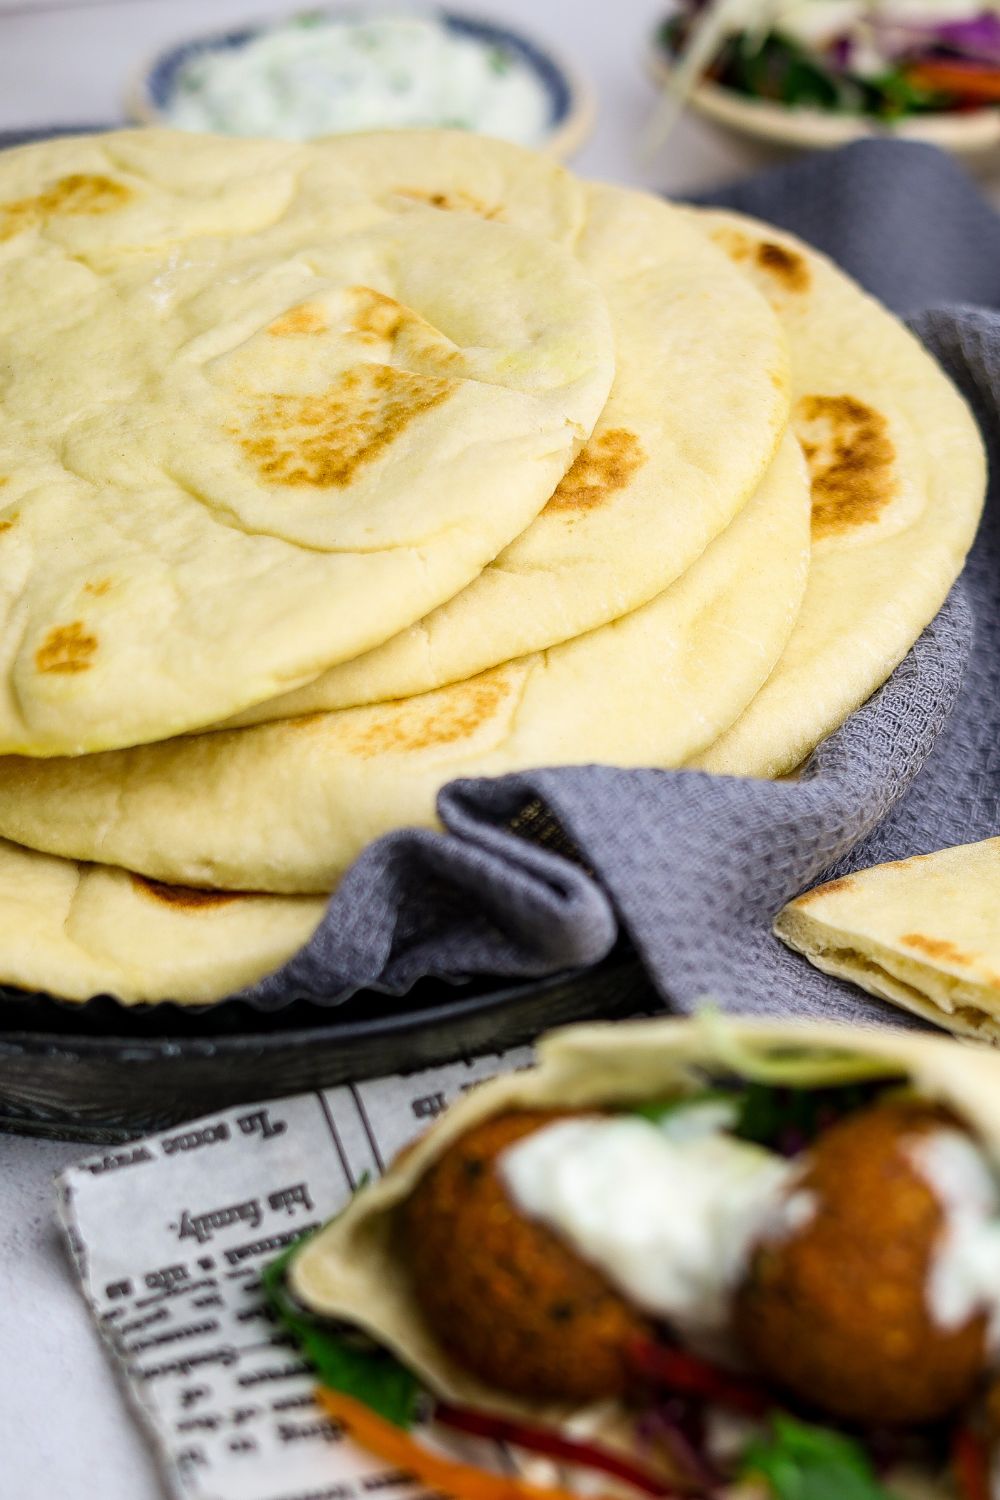
When the Pita Bread is cooked place them on a cooling rack to cool. You can then place them between a clean kitchen towel until you are ready to serve.
It is best to make them when you’re ready to serve.
I always use instant yeast, it works best for me. I have never had bread flop.
Ensure your yeast is fresh. Usually if I open a packet I pop it into the fridge to stay fresh.
To enable my dough to rise a little faster I heat my oven just a little, on a low temperature. Not more than 5 minutes.
I then place my dough into the oven and it helps it rise a little faster. Especially on cooler days.
Ensure your dough is rolled out to the size I mention in my recipe. Otherwise the pita can be quite thick and not very pleasant.
I have tried baking my pita bread in the oven and it did work. However, I prefer mine a little brown and therefore the stovetop works for me.
If you are popping it into the oven you can turn the oven on to the highest temperature. Place the pita on a baking sheet or pizza stone and bake for about 4 minutes per side.
I hope you find this recipe as easy as I did and enjoy making them. Please feel free to drop a comment. I always appreciate the feedback.
More Bread Recipes to try:
Pita Bread
Ingredients
- 2&1/2 cups cake wheat or all purpose flour
- 1&1/2 teaspoon instant dry yeast
- 1 tablespoon granulated sugar
- 1 teaspoon salt
- 2 tablespoon olive oil
- 1 cup lukewarm water plus 1 tablespoon
Instructions
- Mix all the dry ingredients together. Add the water and bring the dough together. I need an extra tablespoon apart from the 1 cup
- Knead the dough for -6 minutes. It will be sticky at first but will become less sticky and smooth on kneading
- Place the dough in a greased bowl. Rub some oil on the dough. Cover with cling wrap and let it rise for an hour or two in a warm place
- Once the dough has risen, about 3 times it's original size, punch it down. Divide it into 8 pieces and roll into neat dough balls
- Sprinkle some flour on a clean, flat surface. Roll each one into a 17cm circle. Cover with a damp kitchen towel and let it rest for 15 minutes
- Heat a pan on medium to high heat. Place the pita bread on the pan and toast for about 30 seconds. Once it starts to bubble flip it over and cook for about a minute, it will start to puff up.
- Cool on a wire rack for 5 minutes. Place a clean kitchen towel on top to prevent drying out. Best served immediately
Notes
- I personally prefer the Anchor purple packet yeast. Always works without any fails
- Water must be slightly warm but not hot as it will kill the yeast
- If your pan is not hot enough the pita will not puff up. Ensure your pan is heated well before toasting the pita bread

Yes, I was hoping you would create a Pira Bread receipe and here it is. Will be trying this soon. Thank you
They’re great! Thanks!